Ever caused a delay to someone because you could not find an important document in your office mess? Or have you ever felt stressed out after losing an important file?
Well, we have all been there.
Organizing files and folders in the office is really important, and I can’t stress this enough.
When you have a good filing system in place, you can easily find what you need. This is very useful if you quickly need to get hold of important documents for client meetings or presentations.
Some entrepreneurs think that filing papers is time-wasting because it does not directly generate money for them. However, they fail to realize that the absence of a system leads to chaos.
It pisses people off when files are strewn all over the place, making them frustratingly untraceable.
And here’s the kicker: they end up wasting 1.5 hours every day just looking for stuff, and you know what they say—time is money!
Every organization needs a good filing system and clear procedures to handle tasks efficiently. Plus, keeping your workspace tidy helps you focus and get more done.
This article will guide you step by step on how to set up a filing system. It might be time-consuming especially when you have so much paperwork around, but it’s worth doing it.
You will have a smooth-running system if you put in the required effort.
If you own a small business or work for a large company, these pointers will help keep your things organized. So, let’s get started!
On this page
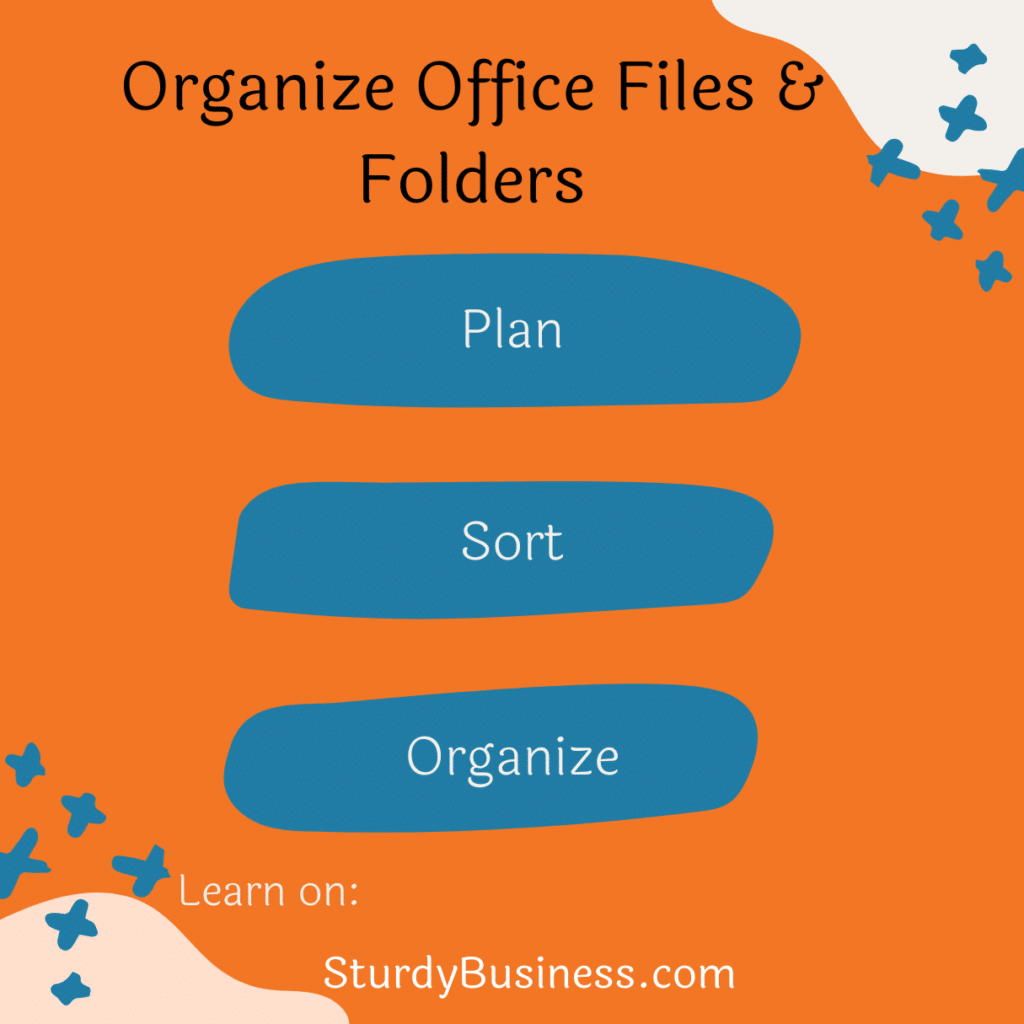
Getting Your Files in Order: 8 Easy Steps!
Don’t keep what you don’t need:
Before arranging files and folders, you need to discard all unnecessary documents. Don’t keep everything that comes your way. Take a quick look and only keep what’s important for your work or your business. Keeping too much stuff just makes it harder to find what you need later on.
Sort your files into categories:
To start organizing your files, first decide on the main categories you’ll use for sorting. Different offices might have different categories, but the basic idea is the same. You want to come up with a system that makes sense for your files. For instance, if you work in a law office and you’re organizing client files, you could sort them by types of cases: like lawsuits, wills, business matters, government paperwork, and so on.
Break It down into subcategories:
Within each main category, you can be even more specific by creating subcategories. Every piece of paper you need to file can fit into two categories: the main one and then a more specific subcategory.
For example, suppose you’re setting up a filing system for money stuff. In that case, you might have a main category called “Money Going Out” and then break it down into subcategories like who you paid: suppliers, service providers, professionals, and administrative expenses.
Try color coding:
Color coding might seem easy, but it’s a really helpful way to organize your files so you can find them quickly. First, decide how many groups you need for your files. Then, get folders in different colors to match those groups.
The good news is that color coding can also work for soft-copy documents or hard-copy files. Just use the same color system for both types.
Look at all your files and figure out what categories they fit into. It might take a few tries to get it right.
Give each category a color. For example, you could use blue for financial stuff, red for human resources, green for contracts, and so on.
You don’t have to buy folders that are already colored. You can use plain folders and add colored stickers instead. Stick them on the top tab or along the edge of the folder to make it easier to see.
Label your files:
Now that each file has its own folder, it’s time to label them. Write the label on the tab of each folder so you know where to put it back. The label should start with the main category, then the specific subcategory.
For example, if it’s a folder for payments to vendors, the label should say, “Outgoing Payments / Vendors.”
Make sure your labels are clear and neat. You can use software to print them from your computer. Keep the font size and style consistent. If you’re writing them by hand, try to be as neat as possible.
Arrange the files alphabetically:
Once you’ve set up all your folders, it’s time to put them in order. First, sort the main folders alphabetically. Then, inside each main folder, put the subcategories in alphabetical order too.
If you prefer, you can also sort some files by date instead of topic. You’ll need to decide if you want the newest items at the front or the oldest ones first.
Sort documents by date:
When organizing your documents, make sure the date is easy to see. You can highlight it on a paper document or include it in the title of an electronic one. This helps you arrange your documents in order of when they were made, so you don’t have to open each one to find what you need. It makes finding them later much simpler.
Make room for more files:
When you’re setting up your filing system, make sure to leave some extra space in each drawer. This way, as you get more papers over time, you’ll have room to add them to the folders. If you don’t leave space, you’ll end up having to move around lots of files later on just to make room for new ones.
Start organizing your documents:
It’s time to select a suitable filing system to keep each file in its right location now that you’ve created a strategy and decided how to organize office files and folders.
Select the appropriate filing system, which can include filing cabinets, file boxes, and hanging file folders. The most widely used option is filing cabinets. If you are not sure about filing cabinets, here is a filing cabinet-buying guide.
These days, you can buy several types of office equipment and furniture in a wide range of colors, sizes, and designs.
There is something for every taste and budget, including vibrant portable file folders and intricate and colorful filing cabinets. Here are the best-selling 5-drawer filing cabinets you might like to buy.
Get Your Folders and Cabinet Ready
- First, get your folders and hanging files ready. Label them with the categories you decided on earlier. Using a pencil lets you change labels easily, while a label maker can make everything look neat.
- Next, set up your filing cabinet. Remove any files that are already in there and put them aside on a clean, flat surface for now. Afterward, insert your labeled files and folders into the cabinet according to your system.
- Now start organizing your papers. They should be placed in appropriate folders as per the order you came up with before; it may be in alphabetical or chronological order.
Keeping your documents in check:
After arranging your files and folders, there is more work to do!
It is better to keep checking through your files and folders and dispose of any papers that you will not need in the future.
Therefore, make certain that you set up a way of filing new files and folders, as well as updating tags where necessary.
Also, review your files at least once a year or more frequently if necessary. Schedule time each day or week to file new paperwork.
The inclusion of filing into your daily routine is an important step towards success. For instance, you can devote the last thirty minutes of your day to filing the day’s paperwork.
Always bear in mind that success depends largely on our perseverance and dedication.
The state of the office environment affects how we do our work. It becomes difficult for us to concentrate when everything around us is not in order.
Practically speaking, this makes sense: searching through a messy desk for a lost document wastes precious work time. Organizing your office can save you a lot of time.
In other words, placing information where anyone can easily locate it within filed documents and folders helps employees be productive and effective.
This may result in a joyful workplace and good performance at work.